kohya_ss GUI安装教程
介绍:
This repository contains training, generation and utility scripts for Stable Diffusion.
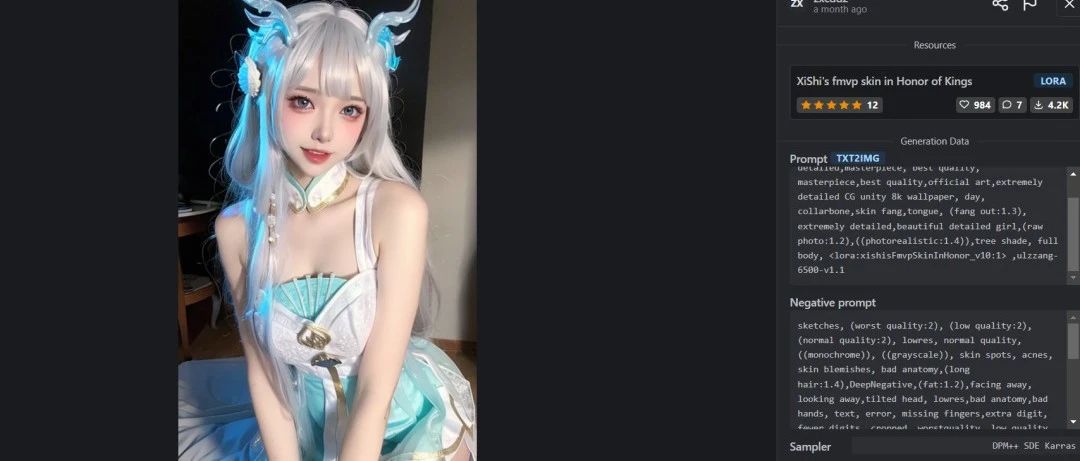
kohyass是用来训练Stable Diffusion模型的。封面图是SD生成的哦!
1.conda创建python虚拟环境
conda create -n kohyass python=3.10 -y
conda activate kohyass
3.clone项目并下载依赖
git clone https://ghproxy.com/https://github.com/kohya-ss/sd-scripts.git
cd sd-scripts
设置清华源
pip config set global.index-url https://pypi.tuna.tsinghua.edu.cn/simple
安装依赖
pip install torch==1.12.1+cu116 torchvision==0.13.1+cu116 --extra-index-url https://download.pytorch.org/whl/cu116
pip install --upgrade -r requirements.txt
4.安装xformers(可选)
git clone https://ghproxy.com/https://github.com/facebookresearch/xformers/
cd xformers/
回退到0.0.4dev0版本,保持和kohya-ss使用的windows预编译版本一致,避免可能的兼容问题
git reset --hard 3633e1afc7bffbe61957f04e7bb1a742ee910ace
cd .git/
vi config
替换所有的github链接为加速链接 https://ghproxy.com/
git submodule update --init --recursive
# 强制使用CUDA,不开启可能会导致xformers未和CUDA一起编译
export FORCE_CUDA="1"
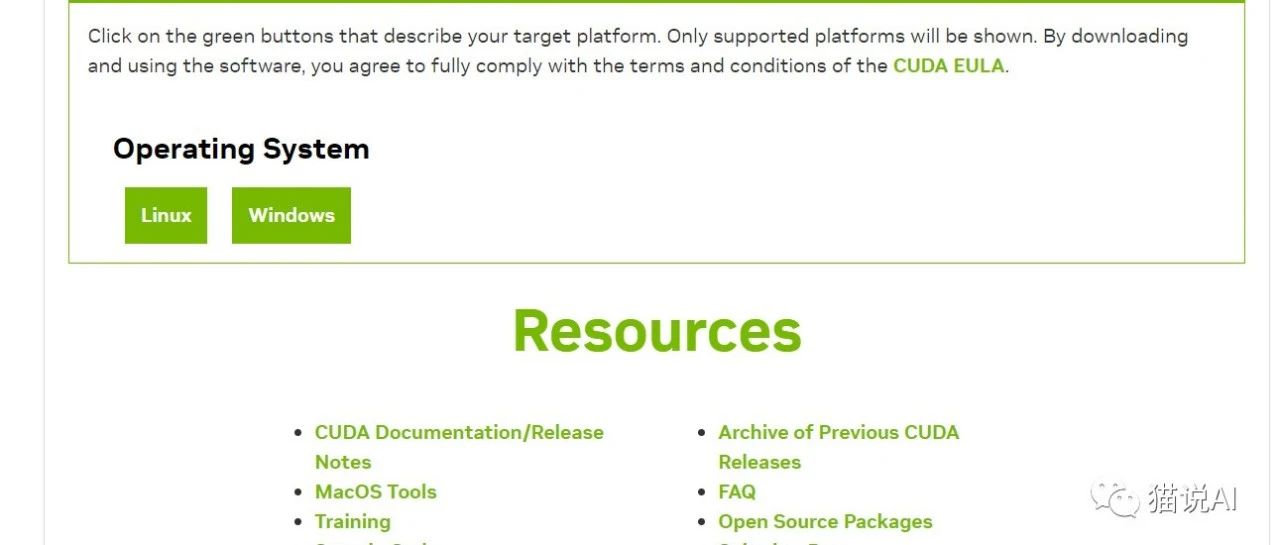
# 进入https://developer.nvidia.com/cuda-gpus#compute
# 设置所用显卡对应的Compute Capability,3090和A5000都是8.6
export TORCH_CUDA_ARCH_LIST=7.0
# PATH环境变量中追加cuda目录,确保编译时能识别镜像预置的cuda11.6
export PATH=$PATH:/usr/local/cuda
# 确保gcc编译时能够识别cuda的头文件
export CPATH=/usr/local/cuda/targets/x86_64-linux/include

pip install -r requirements.txt
pip install -e .
在sd-scripts同级目录安装kohya_ss
git clone https://ghproxy.com/https://github.com/bmaltais/kohya_ss.git
pip install --upgrade -r requirements.txt
启动webui
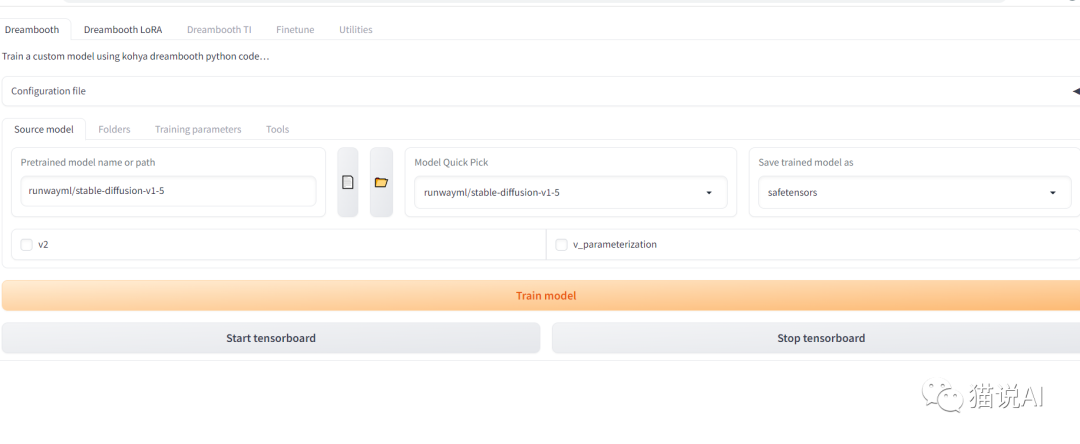
python ./kohya_gui.py --listen 127.0.0.1 --server_port 7860 --inbrowser --share
效果如下:

本篇文章来源于微信公众号: 猫说AI


 陕公网安备 61019002002448号